Satisfactory Factory Planning & Layout Guide
Plan cleaner, expandable Satisfactory 1.2 factories with foundations, logistics space, manifolds, modules, vertical layouts and blueprints.
A good Satisfactory factory layout is not the one with the most perfect symmetry. It is the one you can expand, understand and repair when the next milestone changes what the factory needs. Update 1.2 gives you plenty of tools for neat construction, but the basic planning rules remain more important than decoration.
Start on foundations
Foundations provide a consistent grid for machines, belts and buildings. Once Base Building is unlocked in Tier 1, use foundations for production areas that are likely to survive beyond the opening tutorial. Snapping foundations to the world grid can also make separate factories easier to align later.
Plan around inputs and outputs
Before placing machines, identify the raw-material input rate and the output rate you actually want. Work backwards from the final product to determine how many upstream machines are required. This prevents a large factory from being built around an input belt that could never supply it.
Leave logistics space
Belts, lifts, pipes and splitters need room. Reserve corridors or logistics floors instead of filling every foundation with machines. Extra space makes it much easier to add another belt, upgrade a pipe or route a new ingredient through an existing building.
Manifolds versus balanced splitters
A manifold feeds machines sequentially from a shared belt and is compact and easy to expand. It can take time to fill before all machines run continuously. Perfectly balanced splitter layouts distribute materials more evenly from startup but usually need more space and become cumbersome as machine counts change. Both approaches work; choose according to the factory rather than treating one as sacred engineering doctrine.
Build in modules
Repeatable machine groups make scaling simpler. A module might contain a fixed number of Constructors, Assemblers or Refineries with known input and output rates. When demand increases, add another module instead of redesigning the entire building.
Separate production from transport
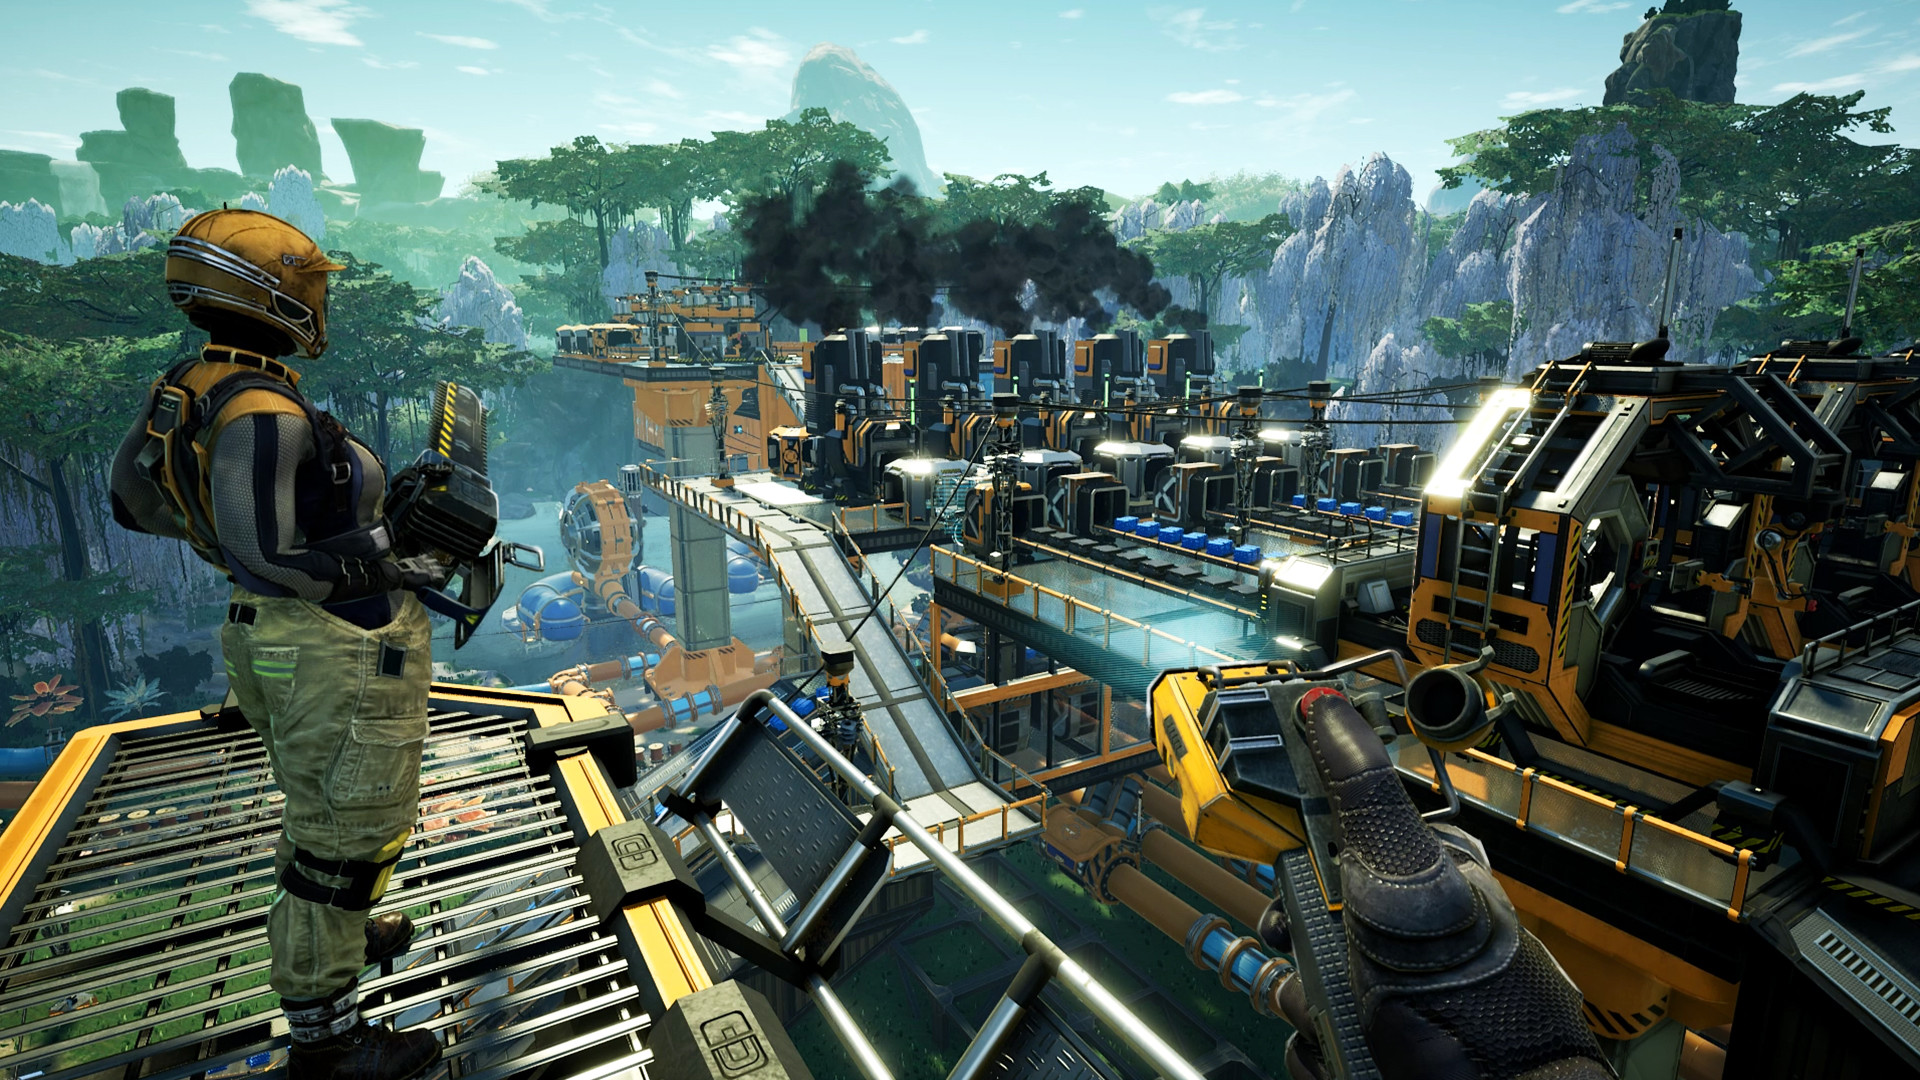
Long-distance logistics do not need to occupy the same floor as production. Conveyor buses, rail stations and truck facilities work better when they have dedicated access. In larger factories, separate logistics floors can keep belts and pipes away from machine-level walkways.
Plan vertical expansion deliberately
Vertical factories can save land and create clean layouts, but add floors because the production chain benefits from them, not merely because another floor fits. Conveyor Lifts make vertical movement straightforward; fluids require more attention because pipeline head lift matters.
Keep important systems accessible
Do not bury splitters, pipe junctions and critical belt merges where they cannot be inspected. A factory can look polished without turning every logistics problem into an archaeological excavation.
Blueprint repeated structures
The Blueprint Designer becomes available during progression and is ideal for reusable production modules, supports, railway structures and common utility layouts. Blueprints are most useful when they standardise something you genuinely build repeatedly.
Expand when technology justifies it
Early factories do not need to anticipate every late-game recipe. Rebuild when faster belts, better miners, alternate recipes or new production buildings create a real benefit. Leaving expansion room is sensible; constructing your Tier 9 megafactory during Tier 1 is mostly a scenic way to delay Tier 2.
Production-module checklist before you build
Use this checklist before repeating a layout or saving it in the Blueprint Designer:
- Output target: define the exact final items/min and selected recipe.
- Required machines: calculate how many machines run at 100%, and decide whether any will be underclocked.
- Raw inputs: add the requirements of every machine and compare them with miner, extractor and upstream outputs.
- Transport: check every merged belt and shared pipeline against its mark's throughput. Avoid hiding a bottleneck inside a wall or floor.
- Electricity: verify the site's power consumption and allow for startup and expansion.
- Maintenance: leave a route to inspect splitters, junctions, output storage and power connections.
- Test: run the module with real inputs and measure sustained output after buffers settle before cloning it.
Blueprint publishing and testing standard
An efficient calculation is not automatically an in-game-tested blueprint. Any blueprint released as a download should include its game version, Blueprint Designer version, dimensions, machine and component list, recipe and clock-speed settings, required external connections, expected input/output rates and a clear note about alternate recipes. The file itself should be built and checked in the game, then retested after material gameplay updates.
Until a module passes those checks, Risen Ancients will present it as a calculated example, not label it as a tested downloadable blueprint. For a starting example, see our two-Foundry Steel Production layout and the Coal Power setup. For extensive existing blueprint libraries, consult Satisfactory Calculator.
Related guides
Production Ratios & Efficiency Guide · Getting Started Guide