V Rising 1.1 boss guide for Rufus the Foreman, covering location, key attacks, Normal and Brutal Mode strategy, rewards and progression.
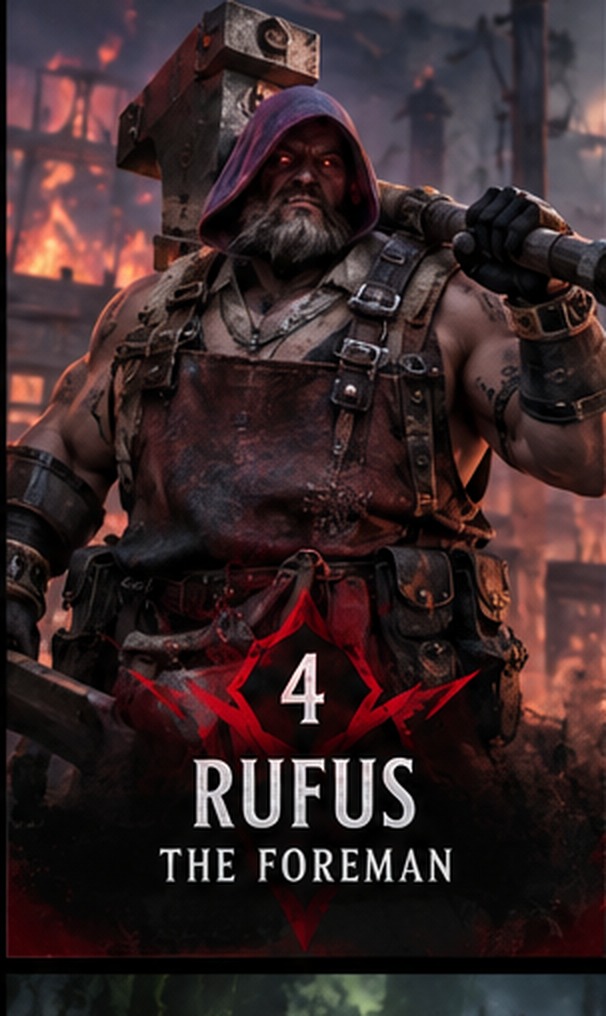
Rufus the Foreman is part of the Risen Ancients V Rising 1.1 boss-guide progression. This guide covers where to find the encounter, the attacks that matter, a practical Normal strategy, Brutal Mode considerations and the progression rewards.
Verified 1.1 level: 20
Rufus patrols the Bandit Logging Camp in Farbane Woods, accompanied by ordinary bandits. The camp has limited reliable shade, making daylight particularly dangerous if you become immobilised by his net.
Before fighting him, eliminate the surrounding bandits and identify a clear section of the camp where you can move sideways without becoming trapped against buildings or objects.
Approach at night where possible. Starting the encounter with full health and your movement ability ready makes his opening attacks considerably easier to manage.
Crossbow Bolt
Rufus aims and fires a straight projectile.
Counter: Keep moving laterally while he aims. Attack after the shot rather than standing directly in front of him.
Throw Net
Rufus winds up a net and throws it into a marked area. Players caught inside become immobilised for several seconds.
Counter: Move out of the indicated area immediately. Avoid spending your movement ability unnecessarily just before he prepares the net.
Dodge Roll
Rufus rolls away when you approach too closely.
Counter: Don't chase automatically. Reposition and wait for him to commit to another attack.
Summon Bandits
Rufus calls additional enemies, typically a Thug and a Poacher.
Counter: Create space and eliminate the summoned enemies when practical, especially the ranged attacker.
Blood Rage
Rufus shields himself and nearby allies.
Counter: Avoid wasting major damage abilities into the shield. Use the opportunity to reposition or recover.
Rapid Crossbow
Around half health on Normal difficulty, Rufus begins firing eight bolts in quick succession.
Counter: Preserve your movement ability, move across his firing direction and avoid attempting to trade damage.
Remove nearby bandits before engaging Rufus. Fighting him alongside several additional ranged enemies makes his net considerably more dangerous.
Approach from the side, establish a comfortable distance and wait for his first attack.
Circle around Rufus while he aims. Once he fires, move in for a short attack sequence.
Do not commit to lengthy melee combinations. His dodge roll can reposition him, and attempting to follow immediately may leave you exposed.
When Rufus begins preparing his net, stop attacking and concentrate on escaping the marked area.
Being immobilised is especially dangerous if other bandits remain alive or the fight is taking place during daylight.
Create distance and eliminate the additional enemies where possible.
Prioritise preventing the ranged enemy from attacking freely while you concentrate on Rufus.
When Rufus activates his shield, avoid using your strongest damage abilities simply to remove it.
Instead, recover your positioning, check your health and prepare for his next attack.
This is the encounter's most dangerous sequence.
Once Rufus begins firing repeatedly, move across his aim and use your available movement ability to escape the firing line.
Wait for the sequence to finish before attacking again. The end of his rapid-fire animation creates an opportunity to resume damage.
Continue circling ordinary bolts, avoiding nets and attacking during recovery.
Don't abandon your positioning discipline when his health becomes low.
Brutal-specific mechanics
The documented Brutal version retains much of Rufus's existing moveset but increases his responsiveness and allows Rapid Crossbow to occur earlier than its usual half-health trigger.
This means you should not save your movement ability based on an assumption that rapid fire cannot happen yet.
For Brutal, I recommend shorter attack sequences, greater attention to his animations and a stronger emphasis on eliminating summoned bandits.
Rufus's rewards
Unlock | Benefit
Tier 1 Blood Spell Point | Progress Blood magic
Woodworking Bench | Unlock a dedicated woodcrafting workstation
Copper Crossbow | Access an upgraded ranged weapon
Simple Furniture | Additional castle furnishing options
Dueling Banner | Additional castle feature
Return to your castle and construct the Woodworking Bench.
The workstation requires 12 Planks and 60 Rugged Hide, according to the current crafting reference.
You can then begin developing the crafting options associated with this station and work towards a Copper Crossbow.
The Copper Crossbow provides ranged damage and access to its Rain of Bolts weapon skill, making it useful for players who prefer to fight from a distance.
Previous: Errol the Stonebreaker
Next: Grayson the Armourer