V Rising 1.1 boss guide for Grayson the Armourer, covering location, key attacks, Normal and Brutal Mode strategy, rewards and progression.
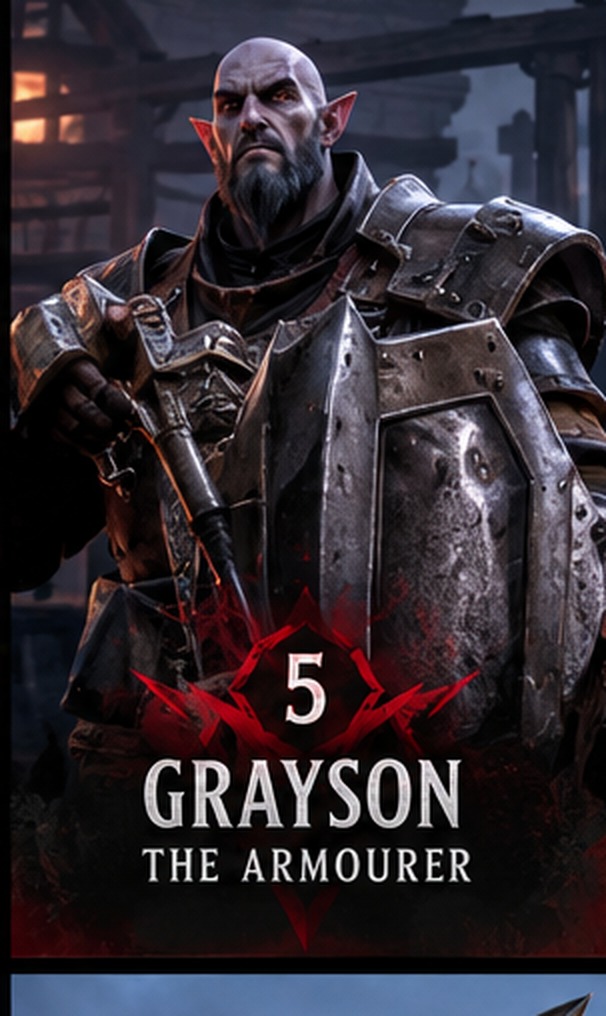
Grayson the Armourer is part of the Risen Ancients V Rising 1.1 boss-guide progression. This guide covers where to find the encounter, the attacks that matter, a practical Normal strategy, Brutal Mode considerations and the progression rewards.
Verified 1.1 level: 27
Grayson is located inside the Bandit Armory, west of central Farbane Woods.
The surrounding camp contains ordinary bandits, so clear the approach before beginning the encounter. This reduces the chance of additional enemies interfering with your positioning.
His arena contains four armour stands, which are essential to the fight. Interacting with one provides temporary invulnerability and allows you to destroy caltrops by walking over them. You cannot attack while wearing this protective armour.
Preparation checklist
Ready for combat
Overhead Swing
Grayson performs a basic hammer strike directly in front of him.
Counter: Move to his side or maintain distance. Punish the recovery with a short melee combination or ranged attack.
Uppercut
At close range, Grayson rushes forward and swings his hammer upwards.
Counter: Dodge sideways rather than retreating directly backwards. Reposition before attacking.
Get Over Here
Grayson throws three hammers that pull players towards him if they connect.
Counter: Move between the projectiles or use a defensive ability. Being pulled is particularly dangerous when caltrops cover the ground.
Knockback
Grayson spins with his hammer, knocking nearby players away.
Counter: Disengage when the animation begins. Avoid being pushed into existing traps.
Caltrops
Grayson scatters damaging traps across the battlefield. Walking into them also snares you.
Counter: Use an armour stand to gain temporary invulnerability and remove the traps safely.
Summon Minion
Grayson summons a ranged Poacher to assist him.
Counter: Eliminate the additional enemy before it can repeatedly attack while you're navigating the traps.
Enter the arena after clearing the surrounding camp.
Keep Grayson at medium range and wait for him to commit to an attack.
Use your crossbow or ranged spell to deal damage, but avoid standing still for extended periods.
When he performs an overhead swing or uppercut, move aside and use the recovery period to attack.
When Grayson scatters caltrops, resist the temptation to continue fighting in the middle of them.
Move towards an armour stand and activate it.
While protected, walk through the central traps to remove them. Clear as much useful space as possible before the invulnerability expires.
Do not waste the protection trying to attack Grayson. Attacking is disabled while the armour effect is active.
When Grayson throws his hammers, watch the gaps between the projectiles.
Avoid being pulled towards him, especially if traps remain between you and the boss.
Use Blood Rite when appropriate, but don't automatically spend your defensive spell on an attack you can comfortably avoid by moving.
When Grayson summons a ranged bandit, eliminate it promptly.
Leaving it alive increases the chance of being hit while navigating caltrops or recovering from a hammer attack.
Use ranged damage if approaching the Poacher would force you across hazardous ground.
Continue using armour stands when the arena becomes crowded.
Avoid activating a fresh stand to clear only one or two traps unless those traps are blocking an essential escape route.
Preserving the remaining stands is especially useful if the fight lasts longer than expected.
Once the arena is clear, return to your original combat pattern.
Attack after Grayson's committed animations, keep your distance when he prepares a spinning attack and eliminate additional enemies when necessary.
There is no reason to rush the final portion of the fight.
Additional projectile and enemy pressure
Grayson's Brutal version introduces two documented changes: Get Over Here fires five hammers instead of three, and his summoned Poacher is replaced by a Deadeye.
These changes make the arena substantially less forgiving, particularly when caltrops are active.
Normal versus Brutal
Mechanic | Normal | Brutal
Hammer projectiles | Three | Five
Summoned enemy | Poacher | Deadeye
Caltrop management | Important | Essential
Recommended attack windows | Moderate | Shorter
Armour stand priority | Clear central traps | Preserve stands carefully
First, remove central caltrops as soon as they threaten your movement. Grayson's five-projectile attack is more dangerous when you're forced into narrow gaps.
Second, prioritise the summoned Deadeye. Its ranged pressure can interfere with both your positioning and your ability to safely use the armour stands.
Third, avoid committing to lengthy melee combinations. Grayson's increased projectile coverage leaves less room for careless positioning.
Finally, don't activate every armour stand early. A later caltrop deployment can become much harder to manage if you've already exhausted them.
Community discussions about the Brutal encounter also repeatedly highlight the importance of using the armour stands individually rather than consuming them together.
Grayson grants a Tier 1 Illusion Spell Point, giving access to the current Tier 1 Illusion selection including Spectral Wolf, Wraith Spear and Phantom Aegis. He also unlocks Workshop Flooring, an Assortment of Storage Shelves, several Target Dummies and the Whetstone recipe.
The Whetstone recipe is the major progression unlock because it reduces reliance on looting bandit camps for this early crafting material.
Previous: Rufus the Foreman
Next: Goreswine the Ravager