Satisfactory Trains & Rail Network Guide
Build scalable Satisfactory 1.2 train networks with stations, freight platforms, schedules, power planning and signalling fundamentals.
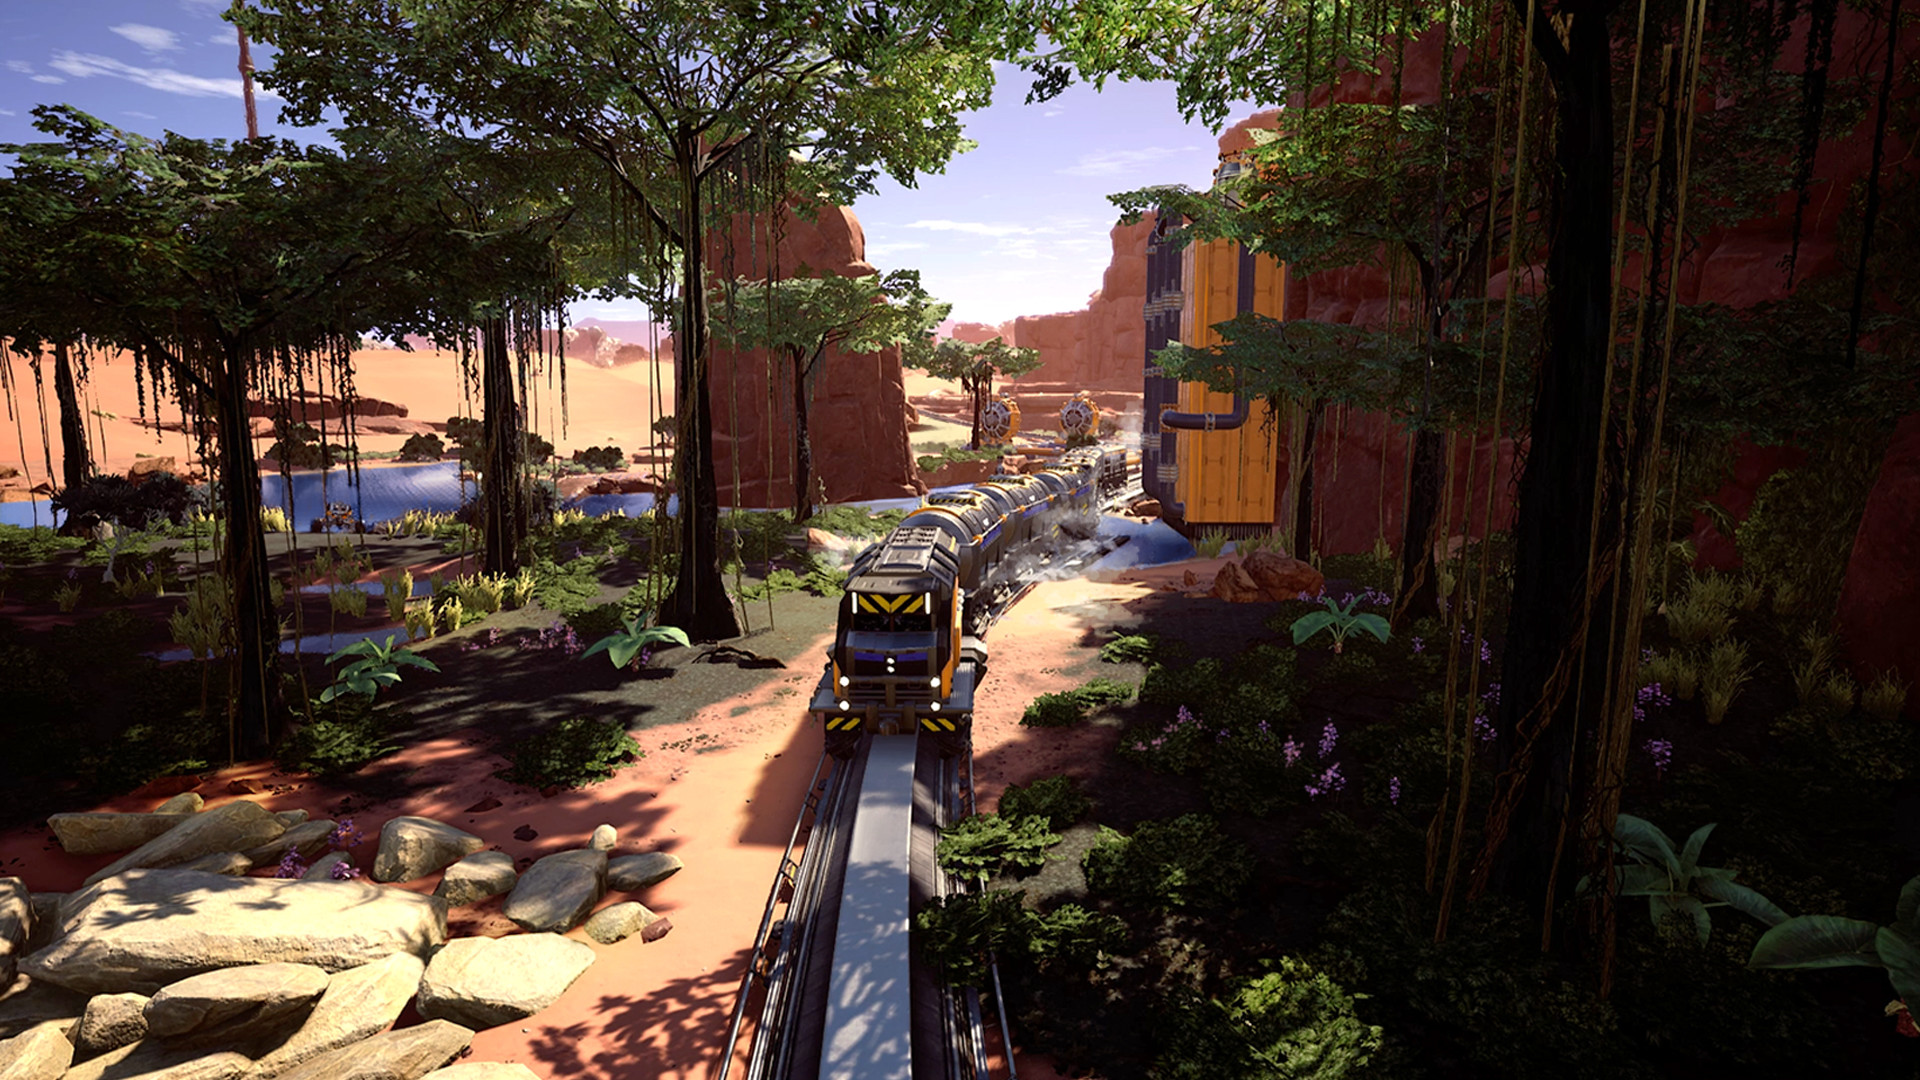
Trains become available in Tier 6 Monorail Train Technology and are one of Satisfactory's strongest tools for moving large volumes over long distances. A good railway is not merely a very expensive conveyor belt: it can carry several resources, move pioneers and distribute power along the rail network.
What Monorail Train Technology unlocks
The milestone unlocks Railways, Train Stations, Freight Platforms, Fluid Freight Platforms, Empty Platforms, Electric Locomotives and Freight Cars. Railway Signalling is a separate Tier 6 milestone that unlocks Block and Path Signals.
Start with a simple route
Your first automated train does not need a continent-spanning junction system. Build a clear route between two useful locations, such as a remote resource factory and your main production area. Automated schedules require at least two stations.
Station direction and platform order matter
A Train Station has a direction, and its Freight Platforms are placed behind it. Each platform corresponds with a Freight Car position in the train. Empty Platforms can be used as spacers when a station should interact with only particular cars.
Loading and unloading
A Freight Platform can be configured to load or unload; it does not perform both jobs in the same docking cycle. Solid platforms have two conveyor inputs and two outputs. During the roughly 27-second cargo-transfer animation, belts connected to an actively transferring platform pause, so buffers before loading and after unloading help smooth material flow.
Train power
Electric Locomotives draw at least 25 MW and can draw up to 110 MW under strain. Train Stations consume 50 MW. Freight Platforms use full 50 MW power while transferring cargo and very little while idle. Account for railway demand when sizing the power grid.
Use double-track networks when traffic grows
A simple bidirectional route is perfectly adequate for an early train. As several trains begin sharing the network, two tracks with consistent one-way travel are easier to expand and signal. Keep junctions readable and avoid unnecessary crossings.
Block and Path Signals
Signals control whether trains may enter sections of railway; they do not choose a different route for the train. Use Block Signals to divide ordinary track into blocks. Path Signals are intended for more complex junctions where trains need to reserve a safe path through intersecting routes.
Design for expansion
Leave enough room around stations for additional Freight Platforms and around junctions for larger curves. Railway networks are wonderfully scalable right up until a station is wedged between three factories and a cliff because the original planner was apparently feeling optimistic.
Your first reliable automated train route
- Build two Train Stations, each with the correct orientation and a matching Freight Platform or Fluid Freight Platform behind it. The type and position of the platform must match the intended freight-car slot.
- Make the rail route physically complete. For a simple single train, a correctly aligned turnaround or properly configured bidirectional setup can work; for a long-term multi-train network, a separate track in each direction is easier to signal and expand.
- Set the loading station to load and the destination station to unload. Put Storage Containers or Fluid Buffers on the correct side of the platforms.
- Create an automated timetable containing both stations, choose the correct loading and unloading conditions, then enable automated operation.
- Run a complete trip and verify the correct Freight Car aligns with its platform and that materials actually arrive at the destination.
Why station buffers matter
A freight docking cycle takes about 27 seconds when cargo transfers. While the docking animation runs, connected platform conveyor belts pause. This means a factory requiring continuous throughput should not feed or draw directly from a Freight Platform without buffering. Use storage on the station side and connect both belt ports when the required throughput justifies it. For fluids, use appropriate buffers and verify refill behaviour over multiple docking cycles.
Signals: troubleshoot in the right order
- Train will not enter an apparently empty block: examine the signal's error or occupied state and check that both its entering and exiting boundaries are valid.
- Two tracks unexpectedly count as one block: nearby or clipping rails can share a block even without a connected switch. Rebuild with additional separation and check the block colour visualisation.
- Junction produces conflicting movements: use a properly configured Path Signal approach for multi-entry junctions, with Block Signals after the junction. Keep all entry signals to a particular junction block of the same type.
- Path Signal complains about a station: a Train Station cannot be inside a path block. Move the signalling boundaries.
- Train refuses to take an alternative route: signals control entry to occupied or reserved blocks; automated trains generally follow their selected shortest route rather than rerouting around congestion. Fix the railway design or timetable rather than expecting signal placement to solve it.
Start with one train and two stations, then add one additional train at a time. A stable two-station route is more useful than a sprawling network with no verified unloading or signal plan.
Sources: Train Station and Train Signals on the official Satisfactory Wiki. This is a written commissioning walkthrough, not an in-game-tested railway blueprint.